How to guide: roast beef
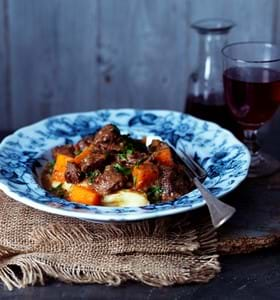
The humble roast dinner is a British treasure. Beautifully cooked meat accompanied by a mound of roast potatoes, Yorkshire puddings, vegetables and gravy can fill even the emptiest of stomachs.
Here we tackle the fundamentals of how to roast beef and once you get these nailed down, you’ll never look back.
Choosing your beef joint
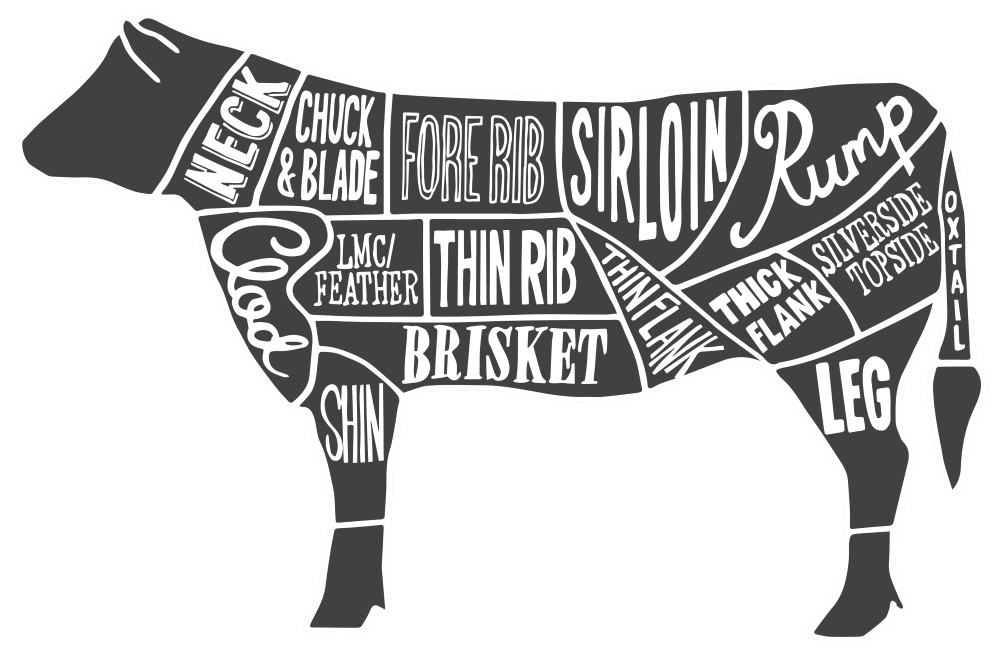
There are many types of roasting beef joints to choose from, so depending on what you like or how many you might be catering for, this should help you zone in on the perfect cut.
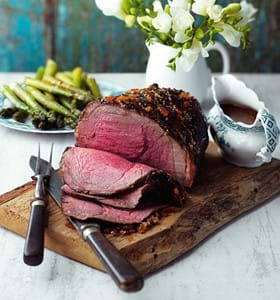
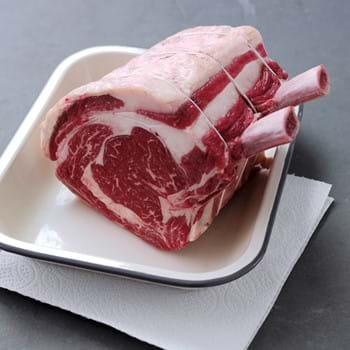
Fore Ribs
A premium roasting cut due to its nicely marbled, main lean muscle and natural covering of fat. This intensifies the flavour and ensures the meat remains tender throughout the cooking process. If buying on the bone ask your butcher to chine the backbone as this makes it easier to carve.

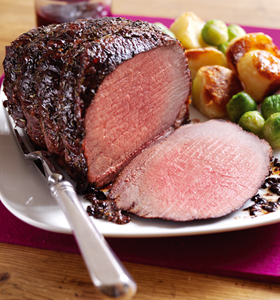
Sirloin
This cut carries less fat than the rib, is extremely tender and great for a special occasion, this prized joint comes from the hindquarter and makes an impressive centrepiece for any table.
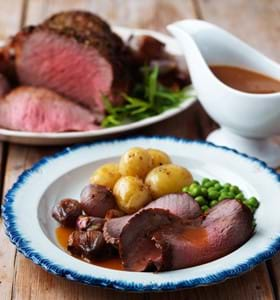
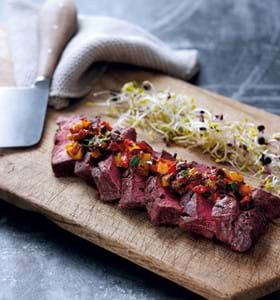
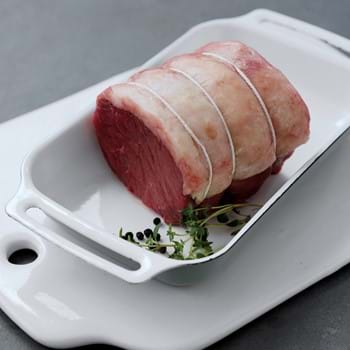
Topside, silverside and top rump
All three of these lean boneless cuts with a fine-grained texture are ideal for roasting. They are good value for money, so perfect for feeding the whole family. Mini joints are suitable for smaller households and will serve 2-3 people. Pictured: Topside mini roast.
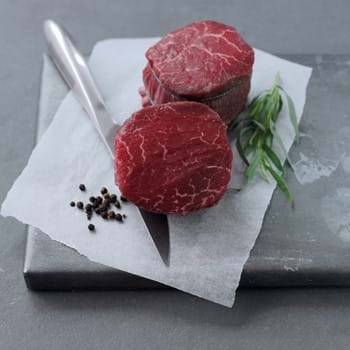
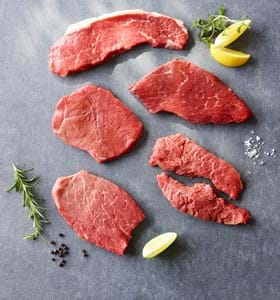
Fillet
This lean cut of beef is used to make the classic beef Wellington dish. Extremely tender as it’s the muscle that does the least work. Benefits from barding (covering in fat) to stop it drying out while roasting.
To learn more about beef cuts, be sure to visit our interactive beef cuts guide.
Roasting your beef joint

If you’re roasting a joint of beef, you’re likely cooking for multiple people. With that in mind, you will probably want to cook the joint to medium. This way, people who like theirs well done can have the end slices and those who prefer rarer meat get the pieces from the middle. Then any leftovers can be sliced and chilled for the next day!
Preparing
Remove your joint from the fridge an hour before roasting and pat dry with kitchen paper. Rub the beef with plenty of oil and herbs of your choice. You really can’t season the beef too much so don’t hold back!
A beautiful by-product of roast beef is the gravy that collects at the base of the roasting pan. Before roasting, add some carrots, onions or other vegetables to the base of the roasting tin to give the meat juices some extra punch but don’t overcrowd the pan, as the joint will stew rather than roast.
Cooking
- When roasting beef joints, the secret is to cook the joints in the oven at a consistent temperature to ensure even cooking
- If time allows, remove your joint from the fridge an hour before roasting to allow it to get up to room temperature
- Position oven shelves so the beef joint is in the centre of the oven
- Remember to weigh the raw joint and calculate the cooking time
- Place the joint fat-side up, to allow the meat juices to baste the joint naturally. For best results, position on a wire rack in a metal roasting tin. Alternatively, lay a combination of roughly chopped root vegetables such as carrots and parsnips or onions in the bottom of the roasting tin
- If your joint is browning too quickly loosely, cover with foil
- Allow the joint to rest for at least 20 minutes or longer after cooking to allow the meat fibres to relax, allowing even distribution of the meat juices so the joint is moist and easy to carve
- To test the temperature during cooking, use a meat thermometer. There are two varieties available. One you insert in the centre of the raw joint, or at the thickest point and cook until the desired internal temperature is reached. The other is inserted into the cooked joint after roasting. This gives an instant reading. As a quick reference, temperatures should be as follows:
Beef: Rare - 60°C, Medium - 70°C, Well Done - 80°C
Cut | Roast and cooking time: 180-190°C, 160-170°C Fan, Gas Mark 4-5. |
Joints: Sirloin, Rib, Topside, Brisket, Silverside, Mini joints | Rare: 20mins per 450g +20 mins - Internal temp approx 60°C |
Carving
Now that all the hard work has finished and guests eagerly await the fruits – or in this case meats – of your labour, the last hurdle you face is carving the beef joint.
Firstly, get yourself a long, thin, straight-edged or slightly scalloped edged knife. Avoid serrated knives as these tend to rip the meat as opposed to slicing it.
Remove any butcher’s string or meat bands from the cooked joint. Position the meat widthways in front of you on a flat non-slip surface, such as a chopping board or large meat platter. If you’re right-handed, use a fork in your left hand to keep the joint in place, cutting from the right end. Long, fluid strokes through the muscle fibre across the grain of the meat in order to shorten the fibres, resulting in beautifully cut slices of your delicious cooked beef joint

Discover more
Don't forget to visit our roast beef recipe collection page for more recipe inspiration!
Why not follow us on Facebook, Twitter, Instagram and YouTube while you’re at it, too, for more tips and insights. You can also check out the rest of our how-to-guides and blog for the latest news.